
How to Wax Your Snowboard Like a Pro
- ahartzle
- Feb 12, 2025
- 2 min read
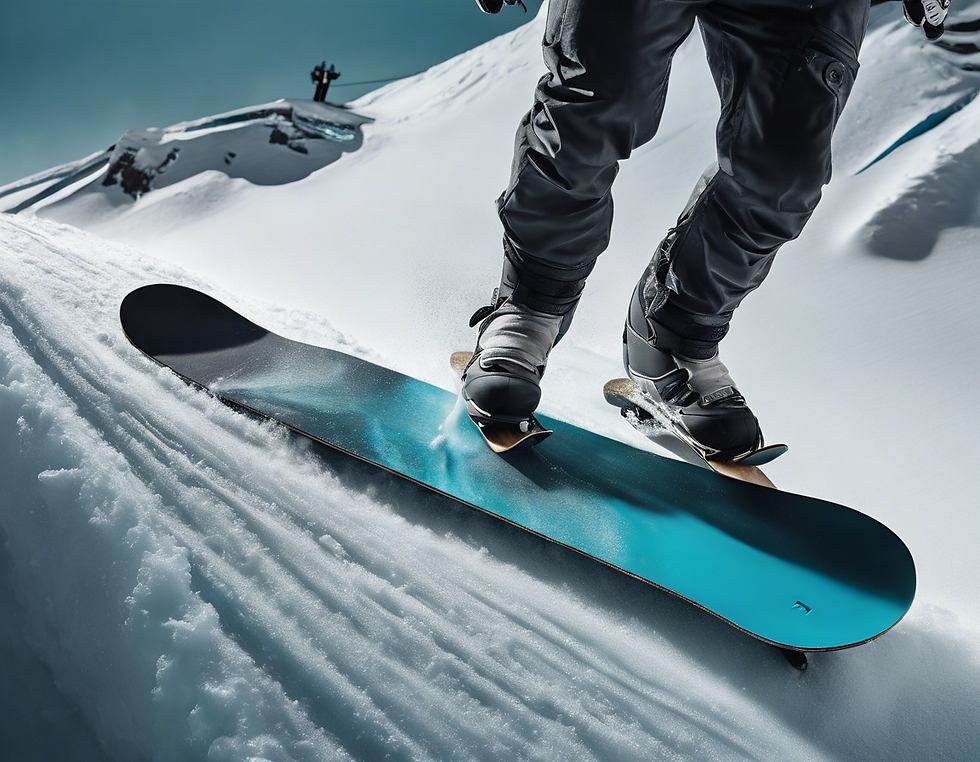
Are you a snowboarder looking to keep your board in top condition for your next ride down the slopes? Waxing your snowboard is a crucial part of its maintenance to ensure optimal performance on the mountain. In this guide, we'll walk you through the steps to wax your snowboard like a pro.
Firstly, gather all the necessary materials. You will need a waxing iron, snowboard wax, a plastic scraper, a brass brush, and a cloth. Start by cleaning your snowboard base with a damp cloth to remove any dirt or debris. Once clean, you are ready to start waxing. Next, plug in your waxing iron and wait for it to heat up to the appropriate temperature. While you wait, take your snowboard wax and hold it against the base of the iron to let the wax drip onto the board. Move the iron in a circular motion to evenly spread the wax across the base of the snowboard. Once the wax is evenly spread, let it cool for at least 30 minutes. After the wax has cooled, take the plastic scraper and remove the excess wax by scraping from tip to tail. Be sure to apply even pressure to ensure a smooth finish. After scraping off the excess wax, take the brass brush and buff the base of the snowboard to remove any remaining wax and to create a nice finish. Brush from tip to tail in long, smooth strokes. Finally, take a cloth and wipe down the base of the snowboard to remove any last traces of wax. Your snowboard is now ready to hit the slopes! Regularly waxing your snowboard will not only improve its performance but also prolong its lifespan. Make sure to wax your board every 5-10 rides, depending on the conditions you ride in. Keep your snowboard in top condition by following these simple steps to wax your snowboard like a pro. Happy shredding!


Comments